Event Seating Plan: How to Group Guests, Place Tables and Brief the Caterer
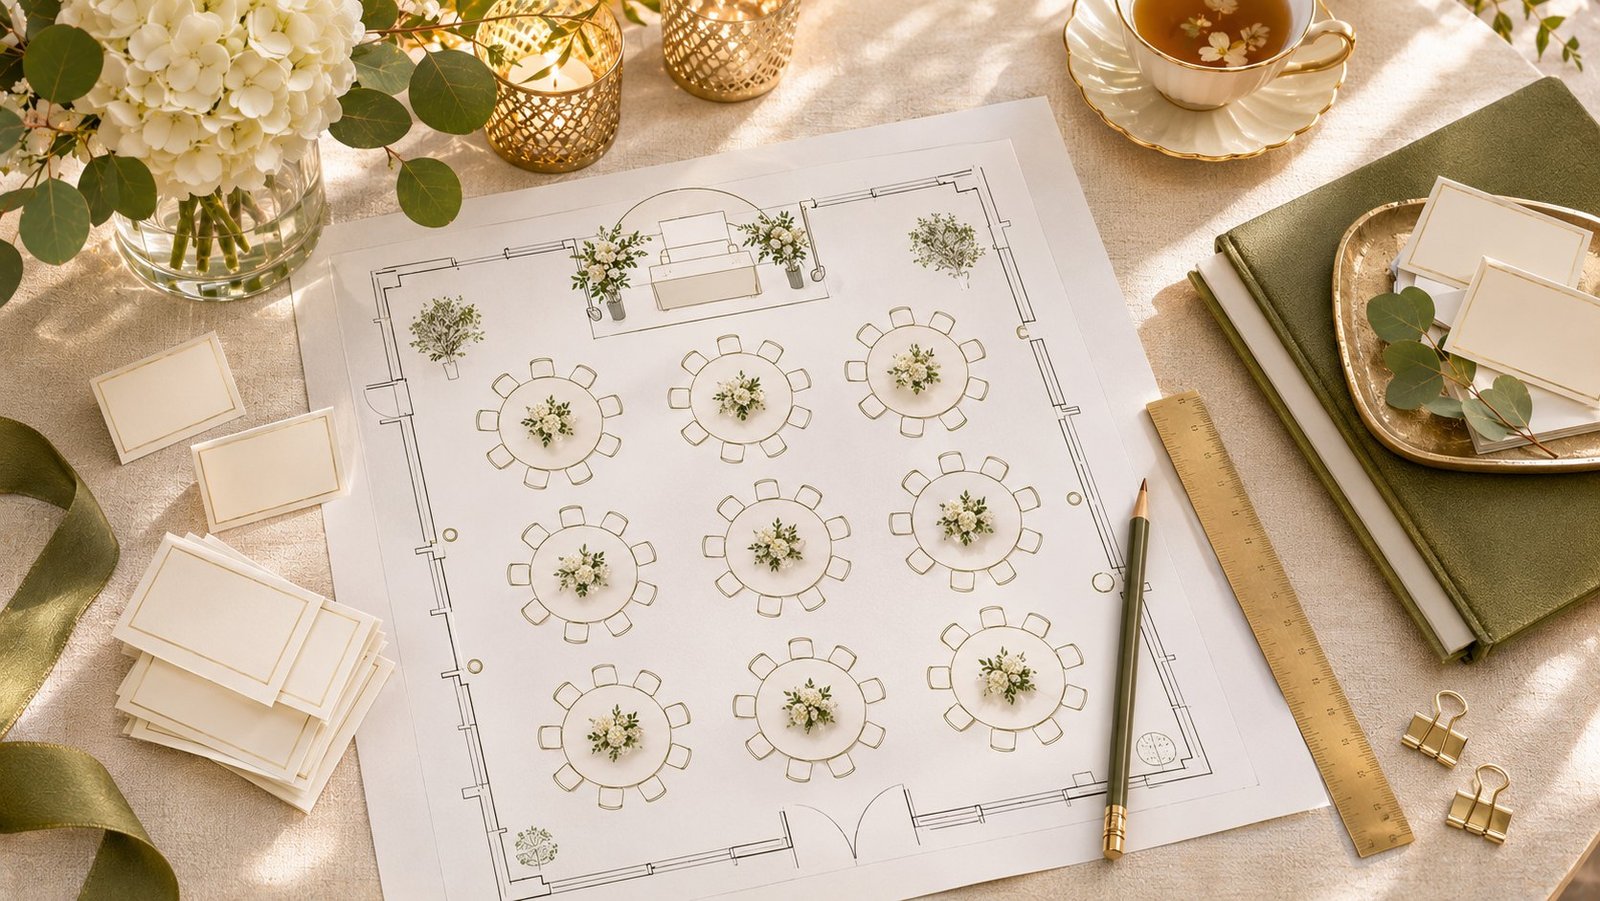
A seating plan looks like a small job until you start it. Then it becomes a puzzle of table sizes, fire exits, family politics, dietary codes and three guests who replied late. Done well, it is invisible: people find their seats quickly, conversations flow and the caterers serve the right meal to the right person. Done badly, it causes a queue at the board, an awkward table and a vegan who receives the beef.
This guide walks through the process in the order planners actually use: fix the numbers, choose the layout, group the guests, place the tables, then produce the paperwork for the venue and caterer. It works for weddings, gala dinners, awards nights and milestone birthdays.
Step 1: Lock the numbers before you place anyone
Do not start a seating plan from the invitation list. Start from confirmed replies, with dietary needs and access requirements attached. If your RSVP deadline has not passed, sketch tables in pencil only. Our guide to RSVPs and final numbers explains how to chase late replies and set a cut-off that suppliers will accept.
At this stage, write down three figures:
- Total seated guests, including children who need a chair.
- Suppliers who need a seat, such as the photographer or band if they eat with guests or at a separate table.
- Children’s arrangement: with parents, at a kids’ table, or in a separate room with a sitter.
Step 2: Choose a table layout that suits the room and the mood
Ask the venue for a scaled floor plan with fixed features marked: pillars, fire exits, bars, doors to the kitchen, the stage or dance floor, and power points for the band or DJ.
| Layout | Typical seats per table | Best for | Watch out for |
|---|---|---|---|
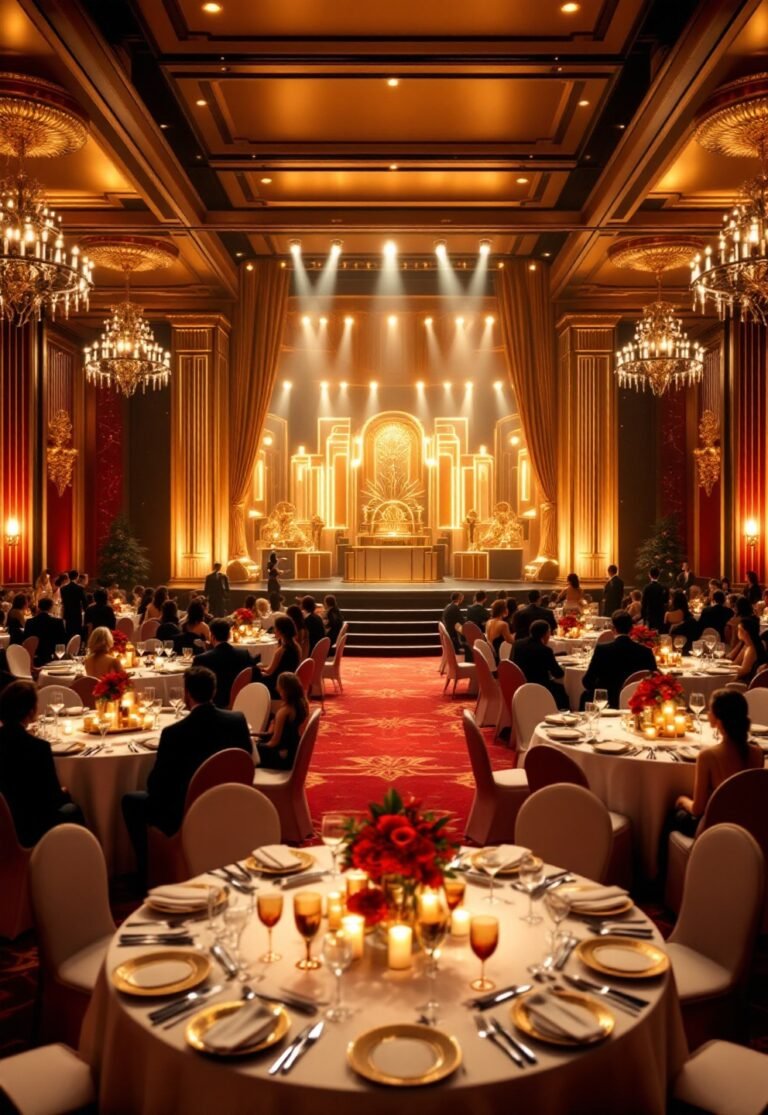
| Round tables | 8–10 (5–6 ft) | Weddings, gala dinners, conversation | Take more floor space; centrepieces must stay low |
| Long banqueting rows | Flexible | Rustic or family-style dinners, sharing platters | Guests only talk to neighbours; harder to move people late |
| Serpentine or curved | Flexible | Statement layouts, smaller rooms | Needs careful measuring; see our serpentine table guide |
| Cabaret (rounds with one side open) | 6–8 | Awards, talks, entertainment | Fewer seats per table, so more tables |
Leave clear walkways for service. Caterers often ask for around 1.5 metres between table edges so staff can carry plates without squeezing past chairs. Fire exits must stay unobstructed; the venue will tell you its rules.
Step 3: Group guests before you assign tables
The fastest way to build a plan is to work in groups, not individuals. Make a list of natural clusters: university friends, one side’s cousins, colleagues from the same team, neighbours, the five-a-side club. Then:
- Size each group. A group of 12 will need splitting over two tables; a group of 4 can join another small group.
- Pair small groups who will get on: two couples with young children, or friends who share a hobby.
- Mark known tensions privately: divorced parents, ex-partners, colleagues who do not get on. Keep them at separate tables with a clear line of sight to the main action for both.
- Find a host for each table: one sociable guest who knows at least two others and will keep conversation going.
Guests who need extra thought
- Older relatives: away from speakers and closer to toilets and exits.
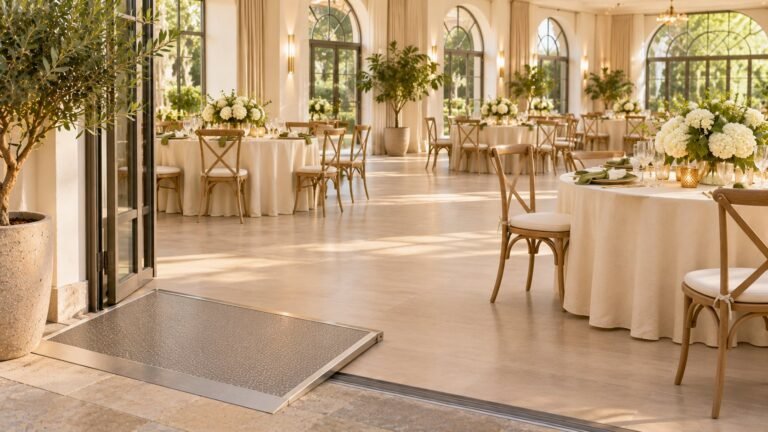
- Wheelchair users: table positions with a removed chair and step-free access to the bar and toilets. Our event accessibility checklist covers the details.
- Guests who know nobody: beside a friendly host, not at the “leftovers” table.
- Parents with babies: near a door so they can step out quietly.
Step 4: Place the tables on the floor plan
Start with the fixed points. The top table or host table goes where everyone can see it, usually facing the room with its back to a wall or window. Family and close friends sit nearest. Then fill outwards, keeping groups who will dance near the dance floor and quieter guests further from the speakers.
Number tables in a logical order around the room, or name them if that suits the event. If you name them, still give the caterer a numbered version; service teams work faster with numbers.
Step 5: Build one master spreadsheet
Every seating plan needs one source of truth. A simple spreadsheet works better than sticky notes once you pass 60 guests. Use these columns:
- Guest name (as it should appear on the place card)
- Table number
- Seat position (if you use place cards at specific seats)
- Menu choice
- Dietary or allergy code
- Access or seating note
- Group or relationship (for your use only)
From this one file you can produce the board or escort cards for guests, the table plan for the venue team, and the dietary list for the kitchen, without copying names by hand.
Step 6: Send the right version to each supplier
- Caterer: table numbers with seat counts, plus a list of every special meal by table and seat. Ask how they mark special meals at the table (coloured place cards, symbols, a seat diagram).
- Venue: the floor plan with table numbers and sizes, high chairs and removed chairs.
- Stationer or printer: names exactly as they should be printed, checked for spelling.
- Event manager on the day: a printed copy with your phone number and the names of key family members.
Agree the date after which changes cost extra or cannot be made. Many caterers ask for the final plan five to seven days before the event. Put that date in your event run sheet so nobody forgets it.
Handling last-minute changes
Someone will cancel, and someone will bring an unexpected plus-one. Plan for it:
- Keep one or two flexible seats on tables near the edge of the room.
- Print a few blank place cards and bring a pen that matches the stationery.
- Give the venue manager authority to move one guest without calling you.
- If a guest with a special meal cancels, tell the caterer straight away so the dish is not wasted.
Seating plan checklist
- Confirmed numbers with dietary and access needs
- Scaled floor plan with exits, pillars and power marked
- Table shape and size agreed with the venue
- Guest groups listed and sized
- Tensions noted privately
- Host guest identified for each table
- Master spreadsheet completed
- Caterer, venue and printer versions sent
- Change deadline agreed and in the run sheet
- Spare cards and flexible seats ready
FAQs
Do I need assigned seats or just assigned tables?
Assigned tables are enough for most events. Assigned seats help when there are many special meals, a formal top table or guests who must be kept apart.
How long does a seating plan take?
For 100 guests, expect a first draft in an evening once replies are in, then one or two rounds of changes. Grouping guests first saves most of the time.
Should couples sit together?
At most social events, yes. At formal dinners some hosts split couples to mix conversation, but guests who know few people usually prefer to sit with their partner.